1.jpg)

I finished my Valentine canvas project last Saturday evening but we have had two of our friends' kids staying with us for the last five nights. Between feeding, homeschooling and living our daily lives with two extra kidlets, I'm just now getting to post about my project.

I had seen a mixed media piece on Etsy that I really liked. I wanted to try my hand at making my own version using it as inspiration. I stayed very close to the original art as you can see.
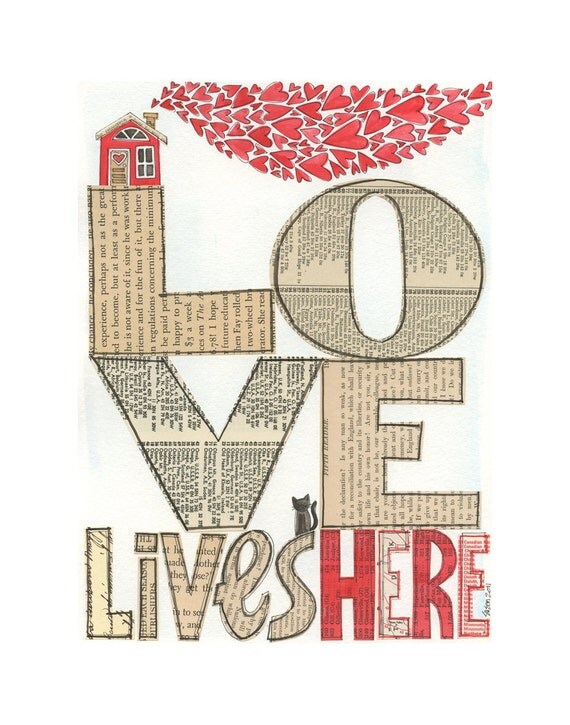 |
| Original art used for inspiration. |
I looked at my Cricut cartridges for the letters and found I had a house and cat that would work for this project. I did buy a cartridge for the LOVE letters (found a good deal on Ebay) although I could have cut them out since they were pretty basic. You may recognize the font from my last Valentine's project. Cartridges used: Cuttin' Up (LOVE), Designer's Calendar (other words & cat), Hoot 'n' Holler (house & heart)
I figured out how tall I wanted my letters and house to fit my 12x16 canvas.Using cheap white cardstock (from a pack found at Walmart in the office section not meant for scrapbooking), I cut out the letters to see if it was the right size before I used my not-cheap vinyl. ;) I cut the letters for LOVE four inches tall and the other letters three inches although I used a different font for the I and E in "lives".
I did want the word HERE and the house and hearts in red so I marked off that area of my 12x16 canvas using painter's tape. (By the way, I found canvases are like wood boards - the measurements are not exactly what they are supposed to be but a bit smaller.)

After that dried. I taped off the red to protect it and then painted the rest of the canvas with some tans.

*Tip* Do not paint thickly up to the tape or take the tape off while it's still wet so you can smooth the paint out and not have a line that obviously shows it has been taped off and painted (like mine did).
I then cut out my vinyl letters. I was able to fit almost all of my letters I needed on a piece of 8 1/2 x 11 inch vinyl cut from the longer roll I had on hand. I have learned how to move the blade around on the material I'm cutting out to help keep waste of product to a minimum.

Tips on cutting vinyl with your Cricut (which could probably be useful with other digital cutters).
With the help of a few heart punches and my old swivel knife (man, I haven't used that thing in a loooong time!), I cut out a bunch of hearts for the "smoke" from my house. This didn't take as much time as it may look.


I preferred to use the swivel knife for most of the hearts. In one fluid motion I started at the top center of a heart design and would cut to the left down and back up to the right and center. I could probably cut one heart out every two seconds at least. It was like drawing a heart without lifting your pen if that helps.
I used scrap pieces of vinyl from between the letters I had cut out with the Cricut to cut my hearts. I also used these scrap pieces to cut out my other two letters.

The canvas is ready for me to apply the paint to cover it all up!

All those hearts...

I picked three colors of gray/silver to use for the top coat. Two were grays and then I had a metallic silver that I mixed in to add a shimmer. I just squirted them on......

and using a foam brush I painted the colors toward the top right corner. I didn't want the strokes to go up and down or left and right. I wanted a little different direction. You may notice I also painted my red and tan blocks in different directions as well. Just mixing things up. This was all new to me and I enjoyed the experimenting!

It's covered! I ended up having to paint two coats to completely cover the colors underneath.

My vinyl on the edges sort of came unstuck but I pushed them down as much as I could before covering them. I knew it was the edges of the canvas and wouldn't be as noticeable. If I had to then I could either paint all the edges the gray/silver or touch up with some reds to complete the shapes.

While that dried I cut out the tissue paper I picked for my LOVE letters. I found this tissue paper in the scrapbooking section at Michael's. It took a little experimenting to figure out what settings to use for the Cricut to get a good cut.
Cricut Tissue Paper Cut Settings: Blade 4, Speed 1, Pressure 2.


Time to take all that vinyl off! This part was pretty exciting, I have to say! I used an exacto knife to get most of the pieces up so I could peel them off the rest of the way.

When I took the heart off in the bottom right corner, I just stuck it on the inside of my house. It would come right off if I wanted to take it off but decided I liked it there and left it. I liked how the original art had a door and windows but this was simpler.

I just used Mod Podge to put the tissue letters on and only put it where the letters were going. I did cover them with a thin coat afterwards.

There were some hearts that bled through. I thought about touching up with more red paint. After I did all the outlining, I decided they were fine as is.


I did wonder if I should have outlined the LOVE but decided not. I asked my fellow resident artist (Elizabeth) and she said I shouldn't. Who knows, I may decide to outline it next year when I pull it out again in January. Looking at the two pieces side by side makes me think I should now. Ha ha.

I wanted to make my little heart in the lower right corner sparkle more so I looked through my stash of Stickles (basically a glitter glue) and picked one. I applied just a little to make it more noticeable when the light hit it just right.

And now for the two projects side-by-side. I used the vinyl for the cat instead of using a mask to paint one or drawing one on. I had to add a cat since we have our own sweet kitty in our family. ;)

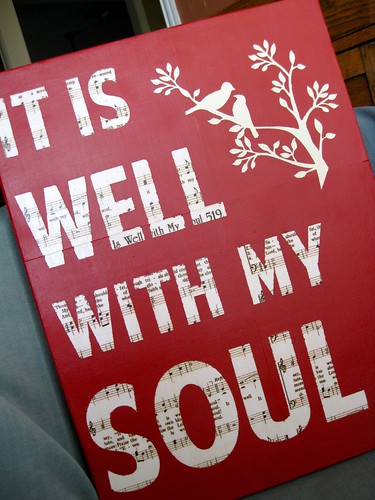
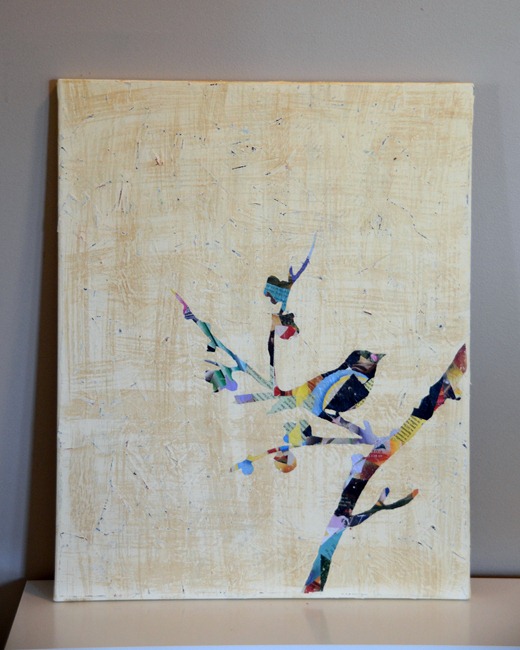
Here are some other ideas that you could create using this method although the artists/crafters below did not necessarily use it. I just see these projects and know it's possible:
 |
| Link and Pin |
 | ||
| Link and Pin |

 |
| Link and Pin |
 |
| Link and Pin |
 |
| Link and Pin |
 |
| Link and Pin |

This particular art project doesn't have to exclusively be for Valentine's Day. "Love lives here" is a good quote to have up year round.
A peek at my next project......It's a simple one. Yes, I've become quite the crafter of late. :) Ha ha.
A peek at my next project......It's a simple one. Yes, I've become quite the crafter of late. :) Ha ha.


1 comment:
Well...oh my...SHE IS BACK! This is fantastic Leslie. You have inspired me!
Post a Comment